It supports Java 17 and greater, ideally 21 or greater. This should be the preferred target while developing.
Uses the Kotlin JVM backend, generating JVM bytecode and executing the code on the Java Virtual Machine.
This integrates pretty well on the IDEs, have fast building and startup times, and provides a great tools like a better debugging experience. All these features makes it the best target for debugging and trying things fast.
Entrypoint
While other targets use korge { entrypoint = "main" }, the JVM target
uses its own jvmMainClassName property indicating the class
that will contain the main entry point.
It defaults to MainKt referencing the package-less root main.kt file:
korge {
	jvmMainClassName = "MainKt"
}
Multiple entry points
In some cases, like editors and so, we might want to have multiple entry points to share a code base with a single module but being able to execute different scenarios, without mixing code. To do so, we can define multiple entry points for the JVM target, that will create one gradle task for each entry point.
korge {
    entrypoint("Editor", "com.my.project.MyEditor") // ./gradlew runJvmEditor
	entrypoint("Debug", "com.my.project.Debug") // ./gradlew runJvmDebug
}
Extra mains:
package com.my.project

object Debug {
    @JvmStatic fun main(args: Array<String>) = runBlocking { Korge(width = 512, height = 512, bgcolor = Colors["#2b2b2b"]) {
		// ...
    } }
}

object MyEditor {
	@JvmStatic fun main(args: Array<String>) = runBlocking { Korge(width = 512, height = 512, bgcolor = Colors["#2b2b2b"]) {
			// ...
    } }
}
Gradlew tasks:
./gradlew runJvmEditor
./gradlew runJvmDebug
Executing
For running, use the gradle task:
./gradlew runJvmAutoreload
# if you don't want hotreloading
./gradlew runJvm
Testing
For executing tests on the JVM only, use the gradle task:
./gradlew jvmTest
Packaging / deployment / publishing
For creating a FatJAR, use the gradle task:
./gradlew packageJvmFatJar
For creating a FatJAR using proguard for thinner sizes, use the gradle task:
./gradlew packageJvmFatJarProguard
You can find the jar files in the build/libs folder.
Full jar files should have the -all.jar suffix,
while the proguarded ones, -all-proguard.jar.
To include an embedded runtime use the tasks:
./gradlew packageJvmWindowsApp
./gradlew packageJvmLinuxApp
./gradlew packageJvmMacosApp
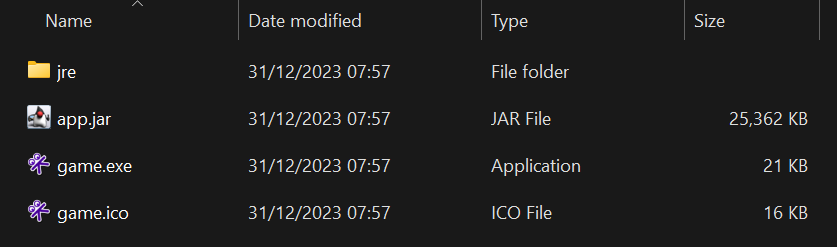
In the case of windows, it generates build/platforms/jvm-win32 with an embedded Java 21 JRE, a .ico and a .exe:
In the case of linux, it generates a .desktop, the icon of the game and a fat jar build/platforms/jvm-linux final users you will need to have a jre installed that are typically available on each platform package managers:

And in the case of macos, it generates a .app with all the required stuff bundeld in the build/platforms/jvm-macos folder:

Note: if launching the task throws an error, in KorGE 5.2.0 and older, there is an issue. You can circumvent it by commenting
#org.gradle.configuration-cache=truein thegradle.properties. This will be fixed in later versions.